Master screen sharing like a Pro with this simple tool
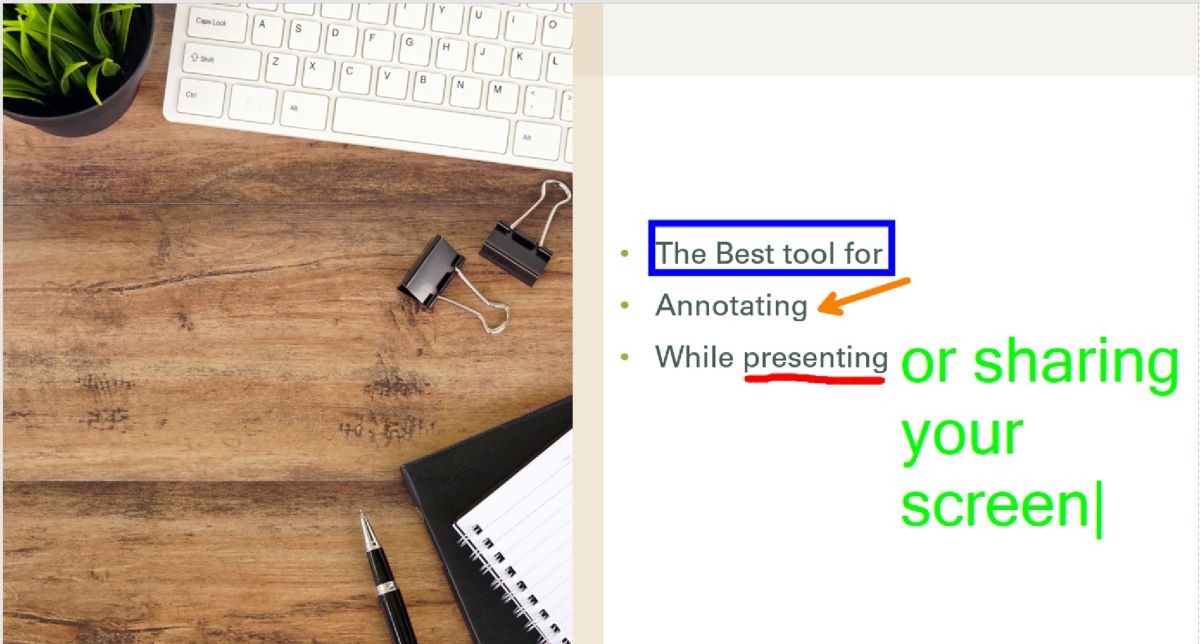
✨ The go-to tool for annotating during presentations, screen shares, and pair programming! ✨
Hey everyone! Do you ever find yourself struggling to see the screen during a presentation or getting lost while following along during a pair programming session? Just imagine never having to ask, 'Can you see this?' or say, 'Wait, let me zoom in.'
Well, guess what? I've got a game-changer for you. Meet ZoomIt – the tool you didn't know you needed but won't be able to live without. It's going to revolutionize the way you do screen sharing, presentations, and pair programming. Curious? Stick around, because you won’t want to miss how ZoomIt can make your life so much easier and more fun!

ZoomIt is a useful tool developed by Microsoft, ideal for presentations, pair programming, and screen sharing.
I assure you, it's very simple to use. I've used ZoomIt a lot in my own presentations and software development meetings, and I can tell you, it's super useful and easy to use.
In this post, I'll tell you all about ZoomIt, from its key features to some practical tips on getting the most out of it. Let's dive in!
TL;DR - version
Zoomit is a versatile tool for zooming, annotating, and timing during presentations. It's user-friendly and perfect for educators, presenters, tech support, and software developers.
You can get it from here download
Commands list
Zoom Functions
| Function | Shortcut |
|---|---|
| Zoom Mode | Ctrl + 1 |
| Zoom In | Mouse Scroll Up or Up Arrow |
| Zoom Out | Mouse Scroll Down or Down Arrow |
| Live Zoom Mode | Ctrl + 4 |
Detailed list of commands are listed here.
Key Features
1. Zoom Feature
- How it works: To zoom in, simply press
Ctrl + 1and you're all set! This feature allows you to emphasize specific lines of code or parts of a document. You can adjust the zoom level using your mouse wheel or arrow keys and exit zoom mode by pressingEscor right-clicking. - My Experience: I found the zoom feature very user-friendly. During a recent pair programming session, I used it to enlarge an important code block, and the audience response was extremely positive.

2. Live Zoom Mode:
- How it works: You can draw, type, and highlight directly on your screen. This is perfect for emphasizing important points or illustrating concepts on the fly. To activate this function, press
Ctrl + 4. Adjust the zoom level similarly, and exit by pressingEscor right-clicking. - My Experience: The Live-zoom mode has been instrumental. I use it in code reviews to highlight specific areas of my code, for editing text, or navigating while keeping things magnified.
3. Drawing on the screen
- How it works: Now, let’s talk about drawing. To start drawing on your screen, press
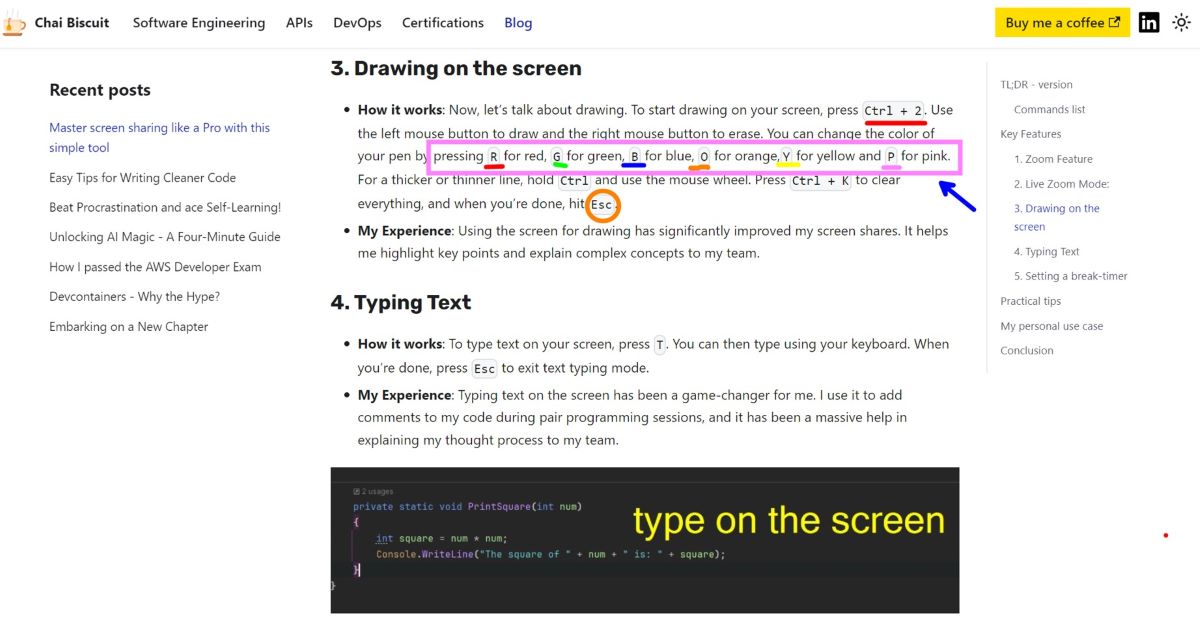
Ctrl + 2. Use the left mouse button to draw and the right mouse button to erase. You can change the color of your pen by pressingRfor red,Gfor green,Bfor blue,Ofor orange,Yfor yellow andPfor pink. For a thicker or thinner line, holdCtrland use the mouse wheel. PressCtrl + Kto clear everything, and when you’re done, hitEsc. - My Experience: Using the screen for drawing has significantly improved my screen shares. It helps me highlight key points and explain complex concepts to my team.

4. Typing Text
- How it works: To type text on your screen, press
T. You can then type using your keyboard. When you’re done, pressEscto exit text typing mode. - My Experience: Typing text on the screen has been a game-changer for me. I use it to add comments to my code during pair programming sessions, and it has been a massive help in explaining my thought process to my team.

5. Setting a break-timer
- How it works: To set a break timer, press
Ctrl + 3. You can adjust the timer duration using the up and down arrow keys. PressSpacebarto start or pause the timer, andEscto exit the break timer mode. - My Experience: I have used this feature when conducting sprint retrospectives with my team. You can start a timer and wait for everyone to finish adding their sticky notes to the board.

Practical tips
For Presenters: Utilize the zoom feature to focus on detailed parts of your slides.
For Software Developers: Use the zoom and annotation tools to highlight specific lines of code during code reviews or to illustrate how a particular code-block works.
My personal use case
Using ZoomIt in Pair Programming and Screen Sharing:
Imagine you're working with a teammate and need to focus on a specific code block. You can zoom in using Ctrl + 1 to guide them through it. If you need to highlight an important section, use Ctrl + 2 to draw around it. And if you're explaining something complex, type it out on the screen using the T key.
Having a break timer handy is also a game changer. It helps you manage your time efficiently and ensures you take breaks to avoid burnout, making your sessions more productive and engaging.

Conclusion
So, there you have it! ZoomIt is a potent tool that improves presentations, pair programming, and screen-sharing sessions. Give it a try, and you'll wonder how you managed without it.
Let’s keep it going: smashing bugs 🐛, sipping chai ☕, and enjoying perfectly dunked biscuits 🍪.
🎉Happy coding!!🎉
If you have enjoyed this post, please consider buying me a coffee ☕ to help me keep writing!