Builder Pattern for Cleaner Unit Tests
Hey everyone! Imagine writing powerful and easily maintainable unit tests in C# using the Fluent Builder Pattern!
By the end of this tutorial, you will acquire the skills to transform your unit tests into clean, readable, and maintainable pieces of art. Say goodbye to struggling with messy test setups or hard-to-read code. Trust me, your future self will thank you!
Also note that this approach is my take on implementing Fluent Builder pattern.

Why should I use this?
The Fluent Builder Pattern is like a cooler version of the Builder Pattern. It helps you create complicated objects one step at a time using a simple and easy-to-read syntax. It can make setting up tests feel more intuitive, especially when you're doing unit testing.
TL;DR - version

Classic configuration
Let's begin with a typical unit test setup. Consider a User class with properties such as Name, Email, and Age.
Creating a user object may look like this:
- C#
var user = new User
{
  Name = "John Doe",
  Email = "john.doe@example.com",
  Age = 30
};
Not too bad, right? But what if the setup becomes more complicated with additional nested objects or optional parameters? This is where things can get messy and hard to maintain.
Fluent builder pattern saves the day
Now, let's explore how the Fluent Builder Pattern can be beneficial. Here's an example of how you could configure the
same User object using a builder:
- C#
var user = new UserBuilder()
    .WithName("John Doe")
    .WithEmail("john.doe@example.com")
    .WithAge(30)
    .Build();
See the difference? The fluent syntax makes it clear and easy to follow. Each method call is a step in the object creation process, making it super readable.
Benefits
There are several more reasons why the Fluent Builder Pattern is excellent for unit tests:
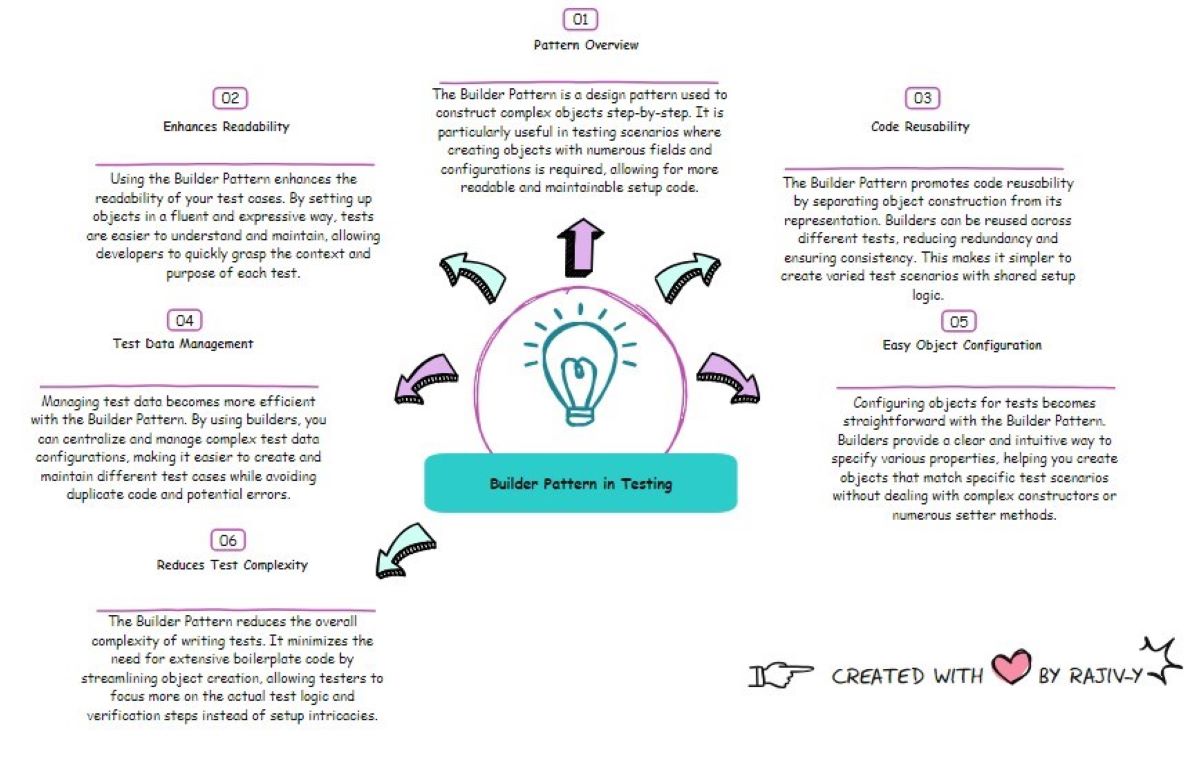
- Improved Readability: Your test setup code is written to read like a sentence, making it easy to understand at a glance.
- Reusability: You can reuse builder methods across different tests to reduce code duplication.
- Flexibility: Easily add or modify parameters without breaking existing tests.
- Maintainability: Cleaner code makes it easier to maintain and update your tests as your code evolves.
Comparison with Classic Approach
In traditional setups, constructors and setup methods can be long and filled with parameters, making the test code harder to follow and maintain. The Fluent Builder Pattern offers a clear and easy-to-read alternative.
Classic Configuration Approach:
- C#
var user = new User("John Doe", "john.doe@example.com", 30);
// Imagine if there were more parameters or nested objects
Fluent Builder Approach:
- C#
var user = new UserBuilder()
  .WithName("John Doe")
  .WithEmail("john.doe@example.com")
  .WithAge(30)
  .Build();
// Clean, readable, and easy to extend
The difference in readability and maintainability is quite significant, especially as your test suite expands.
Steps to get started
To get started with the Fluent Builder Pattern, follow these simple steps:
- Create a builder class for the object you're testing.
- Add methods for each property you want to set.
- Finally, implement a
Buildmethod to return the fully constructed object.
Step-by-Step Implementation
Let's break down the implementation step-by-step to ensure everything is crystal clear.
Simple Fluent Builder approach
Step 1: Create the Interface and Builder Class
First, we create an interface and a builder class for the User object. This class will have private fields for each
property of the User class.
- C#
public interface IUserBuilder
{
  IUserBuilder WithName(string name);
  IUserBuilder WithEmail(string email);
  IUserBuilder WithAge(int age);
  User Build();
}

public class UserBuilder : IUserBuilder
{
  private string _name;
  private string _email;
  private int _age;
}
Step 2: Add Methods for Each Property
Next, we add methods to set each property. These methods will return the builder object itself, allowing for method chaining.
- C#
public IUserBuilder WithName(string name)
{
  _name = name;
  return this;
}

public IUserBuilder WithEmail(string email)
{
  _email = email;
  return this;
}

public IUserBuilder WithAge(int age)
{
  _age = age;
  return this;
}
Step 3: Add the Build Method
Finally, we add a Build method that returns a new User object with the properties we've set.
- C#
public User Build()
{
  return new User
  {
      Name = _name,
      Email = _email,
      Age = _age
  };
}
Step 4: Using the Builder in Unit Tests
Now that we have our builder class, let's explore how we can use it in a unit test. Here's an example of a simple unit test utilizing the Fluent Builder Pattern:
- C#
[Fact]
public void CreateUser_ShouldHaveCorrectName()
{
  var user = new UserBuilder()
      .WithName("Jane Doe")
      .WithEmail("jane.doe@example.com")
      .WithAge(28)
      .Build();

  Assert.Equal("Jane Doe", user.Name);
  Assert.Equal("jane.doe@example.com", user.Email);
  Assert.Equal(28, user.Age);
}
This test is well-organized, easily readable, and comprehensible. Each step of the user creation process is clearly outlined, facilitating a clear understanding of the test's functionality.
Guided Fluent Builder approach
In this approach, the Fluent Builder API uses method chaining to guide the user.
Step 1: Create the Interfaces and Builder Class
First, we create two interfaces and a builder class for the User object. This class will have private fields for each
property of the User class and will implement the two interfaces.
- C#
public interface IUserBuilder
{
  IUserProperties WithTestValues();
}

public interface IUserProperties
{
  IUserProperties WithName(string name);
  IUserProperties WithEmail(string email);
  IUserProperties WithAge(int age);
  User Build();
}

public class UserBuilder : IUserBuilder, IUserProperties
{
  private string _name;
  private string _email;
  private int _age;
}
Step 2: Add Methods for Each Property
Implement the first interface i.e. IUserBuilder as implicit interface implementation and IUserProperties as explicit
interface implementation.
| Implicit Implementation | Explicit Implementation |
|---|---|
| Methods are part of the public API of the builder class, making them easier to discover but potentially cluttering the API. | Methods are hidden from the public API, keeping the class interface cleaner. |
Next, we add methods to set each property. These methods will return the builder object itself, allowing for method chaining.
- C#
 public IUserProperties WithTestValues()
 {
     _name = "John Doe";
     _email = "john.doe@example.com";
     _age = 20;
     return this;
 }

 IUserProperties IUserProperties.WithName(string name)
 {
     _name = name;
     return this;
 }

 IUserProperties IUserProperties.WithEmail(string email)
 {
     _email = email;
     return this;
 }

 IUserProperties IUserProperties.WithAge(int age)
 {
     _age = age;
     return this;
 }
Step 3: Add the Build Method
Finally, we add a Build method that returns a new User object with the properties we've set.
- C#
public User Build()
{
  return new User
  {
      Name = _name,
      Email = _email,
      Age = _age
  };
}
Step 4: Using the Builder in Unit Tests
Now that we have our builder class, let's explore how we can use it in a unit test. Here's an example of a simple unit test utilizing the Fluent Builder Pattern:
- C#
[Fact]
public void CreateUser_ShouldHaveCorrectName()
{
    var user = new UserBuilder()
          .WithTestValues()
          .WithName("Jane Doe")
          .WithEmail("jane.doe@example.com")
          .WithAge(23)
          .Build();

    Assert.Equal("Jane Doe", user.Name);
    Assert.Equal("jane.doe@example.com", user.Email);
    Assert.Equal(28, user.Age);
}
Key Takeaways:
- Explicit interface implementation allows surfacing of all other methods only after calling the
WithTestValues()method. - Notice the
WithTestValues()method; use it as a starting point for method chaining to ensure theUserobject has its properties initialized with test values and is in a consistent state. - We can call the
Build()method immediately after calling theWithTestValues()method if we don't need to set any specific property values for the object. This will greatly improve the developer experience for those writing the tests. - If we need to override specific property values, we can do so by explicitly setting those values instead of setting
all the
Userobject properties. This greatly improves readability.
When to use
The Fluent Builder Pattern is particularly helpful in the following scenarios:
- When dealing with complex objects that have numerous properties.
- For test setups that include nested objects or optional parameters.
- To enhance the readability and maintainability of your tests.
- When you need to reuse intricate object setups across multiple tests.
When not to use
However, it might not be necessary if:
- Your objects are simple with only a few properties.
- The additional overhead of creating builder classes outweighs the benefits.
- Your tests are straightforward and do not require complex setup.
Conclusion
Remember: Using the Fluent Builder Pattern in unit tests improves code readability, maintainability, and flexibility by simplifying complex object creation.
Hey, it's your turn now! Give the Fluent Builder Pattern a shot in your next unit test and see how it goes.
Happy coding!
If you have enjoyed this post, please consider buying me a coffee ☕ to help me keep writing!